E-Forms API
*Note: All urls mentioned in this document are samples and the actual url will be available once the client subscribes to the product.
The E-Forms APIs enable you to get up and running with our E-Forms product line.
Security
Every CIC Plus endpoint will require two headers: authorization and a subscription key. The header information is as follows:
Headers
Content-Type: application/json
Ocp-Apim-Subscription-Key: {subscription key}
Authorization: bearer {token}
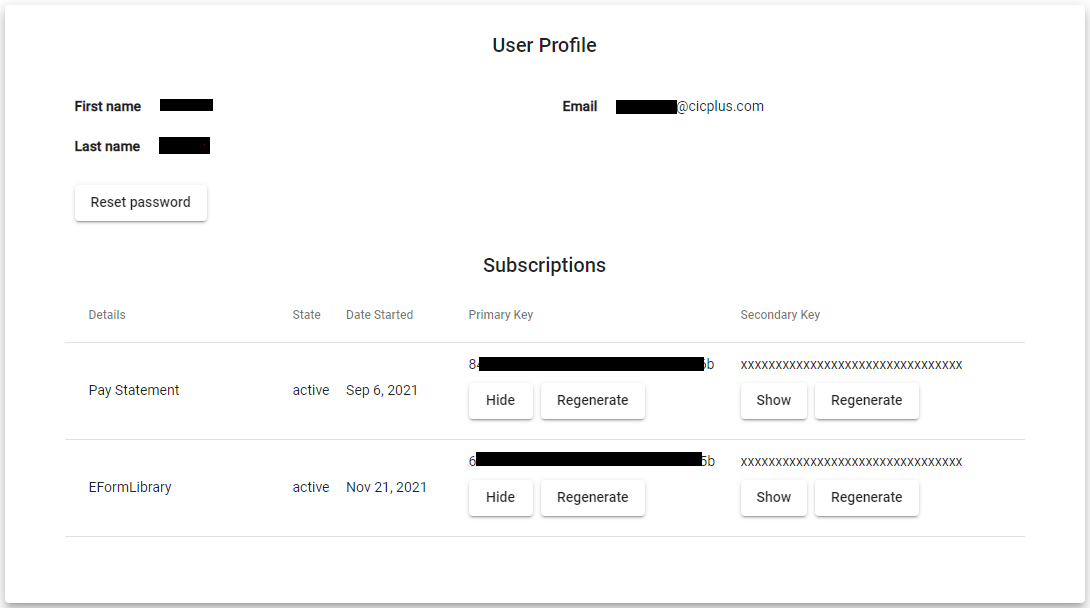
You can learn how to get an authorization token on this page. Subscription key can be found on the Profile page:
Available E-Forms Endpoint Actions
1. POST Employee Data.
This API endpoint allows to upload Employee Data
Below is the example of POST request sent to the /api/eforms/employee-data endpoint
POST https://developer.paperlessemployee.com/api/eforms/employee-dataThe body will contain the employee data as:
[
  {
    "employeeIdentifier": "string",
    "firstName": "string",
    "middleName": "string",
    "lastName": "string",
    "taxID": "string",
    "email": "string",
    "storeNumber": "string",
    "birthDate": "2021-11-18T21:57:22.280Z",
    "hireDate": "2021-11-18T21:57:22.280Z",
    "termDate": "2021-11-18T21:57:22.280Z",
    "extraEmployeeNumber": "string",
    "companyName": "string",
    "companyEIN": "string",
    "companyIdentifier": "string",
    "thirdPartySourceId": "string",
    "thirdPartyStatusCallback": "string",
    "residentialAddresses": [
      {
        "primary": true,
        "type": "string",
        "status": "string",
        "line1": "string",
        "line2": "string",
        "line3": "string",
        "city": "string",
        "state": "string",
        "postalCode": "string",
        "country": "string"
      }
    ],
    "workAddresses": [
      {
        "primary": true,
        "type": "string",
        "status": "string",
        "line1": "string",
        "line2": "string",
        "line3": "string",
        "city": "string",
        "state": "string",
        "postalCode": "string",
        "country": "string"
      }
    ]
  }
]
The response will contain the status code, and if successful, the uploaded employee information will be stored.
200 OK
Content-Type: application/json
Response    : Returns OK
If multiple employee information was submitted, then we will return a list of results with appropriate messages for each employee id. Here is an example of what it looks like for 3 employees:
[
  {
    "employeeId":" testemployee1",
    "result":"Invalid"
  },
  {
    "employeeId":" testemployee2",
    "result":"OK"
  },
  {
    "employeeId":" testemployee3",
    "result":"Warning"
  },
]
2. POST AuxiliaryData.
This API endpoint allows to upload a Free-Form Data. The only required fields are employeeIdentifier and formCode followed by a set of name-value entries in the dataElements field.
Below is the example of POST request sent to the /api/eforms/auxiliary-data endpoint:
POST https://developer.paperlessemployee.com/api/eforms/auxiliary-dataThe body will contain the free-form data as:
[
  {
    "employeeIdentifier": "string",
    "formCode": "string",
    "dataElements": [
      {
        "name": "string",
        "value": "string"
      }
    ]
  }
]
The response will contain the status code, and if successful, the uploaded data will be stored. Appropriate error messages will be displayed in case of errors.
200 OK
Content-Type: application/json
Response    :
[
  {
    "processingResult": {
      "success": true,
      "message": "Processed successfully"
    },
    "employeeIdentifier": "string",
    "formCode": "string",
    "dataElements": [
      {
        "name": "string",
        "value": "string"
      }
    ]
  }
]
3. GET Employee Status.
This API endpoint allows to get an E-Form Status of the specific Employee.
Below is the example of GET request sent to the /api/eforms/employee-form-status endpoint:
GET https://developer.paperlessemployee.com/api/eforms/employee-from-status?employeeId=6c849aa8-b7ab-4c3d-8c05-20270ccb699cThe response will contain the status of EForms for a specified Employee:
{
    "EmployeeID": "TEST10",
    "EFormStatus": "In Progress",
    "CurrentEFormsCount": 0,
    "CurrentEForms": [],
    "PendingFormsCount": 27,
    "PendingForms": [
        {
            "FormGroupName": "Alternate Work State Withholding Allocation",
            "Required": "true",
            "Discovered": "11/09/2021 08:35 ET"
        },
        {
            "FormGroupName": "CIC Preview Test Form",
            "Required": "false",
            "Discovered": "11/09/2021 08:35 ET"
        },
        {
            "FormGroupName": "Payroll Direct Deposit Authorization (Canada)",
            "Required": "false",
            "Discovered": "11/09/2021 08:35 ET"
        },
        {
            "FormGroupName": "Neuberger Berman Alternate Work State Allocation Form",
            "Required": "true",
            "Discovered": "11/09/2021 08:35 ET"
        }
    ]
}
https://cicplus.azure-api.net/usersvc/api/v1/admin/companyusers/{employeeId}/sso[?targetUrl={w2|w4|pay}]The response will contain a structure with a data property that will provide an SSO link that can then be provided to employees:
{
    "success": true,
    "message": "Complete",
    "data": "https://www.paperlessemployee.com/SSOPortal.aspx?Token={TOKEN}&CompanyUrlSuffix=Example&Internal=1&TargetUrl=w2",
    "operationResults": []
}
4. GET Employee SSO Link
This API endpoint will return an SSO link that contains the necessary security and company information to log a user in to PaperlessEmployee.com automatically. The employeeId must be passed in the path. The targetUrl query parameter is OPTIONAL and will accept w2, w4 or pay as a value; supplying this parameter will append a redirect element to the resulting SSO link that will send the user to Tax Statements, E-Forms Center or Pay Statements respectively.